My coding setup
My dev setup, and config files for own future reference
I have been using the M1 Macbook Air and Mini for more than a year now and am quite happy with them. In addition to the Macs I also have dev environments set up on remote Ubuntu based linux systems. I prefer having uniformity when working on the two different OS-s. Time and again I do some changes here and there and need to tweak my dev setup. I mainly work with GNU screen and Vim, and use some plugins which work across MacOS and Ubuntu linux. So here I am writing down my setup, mostly for my own future reference. Perhaps it will be useful to some other people as well.
Overall setup
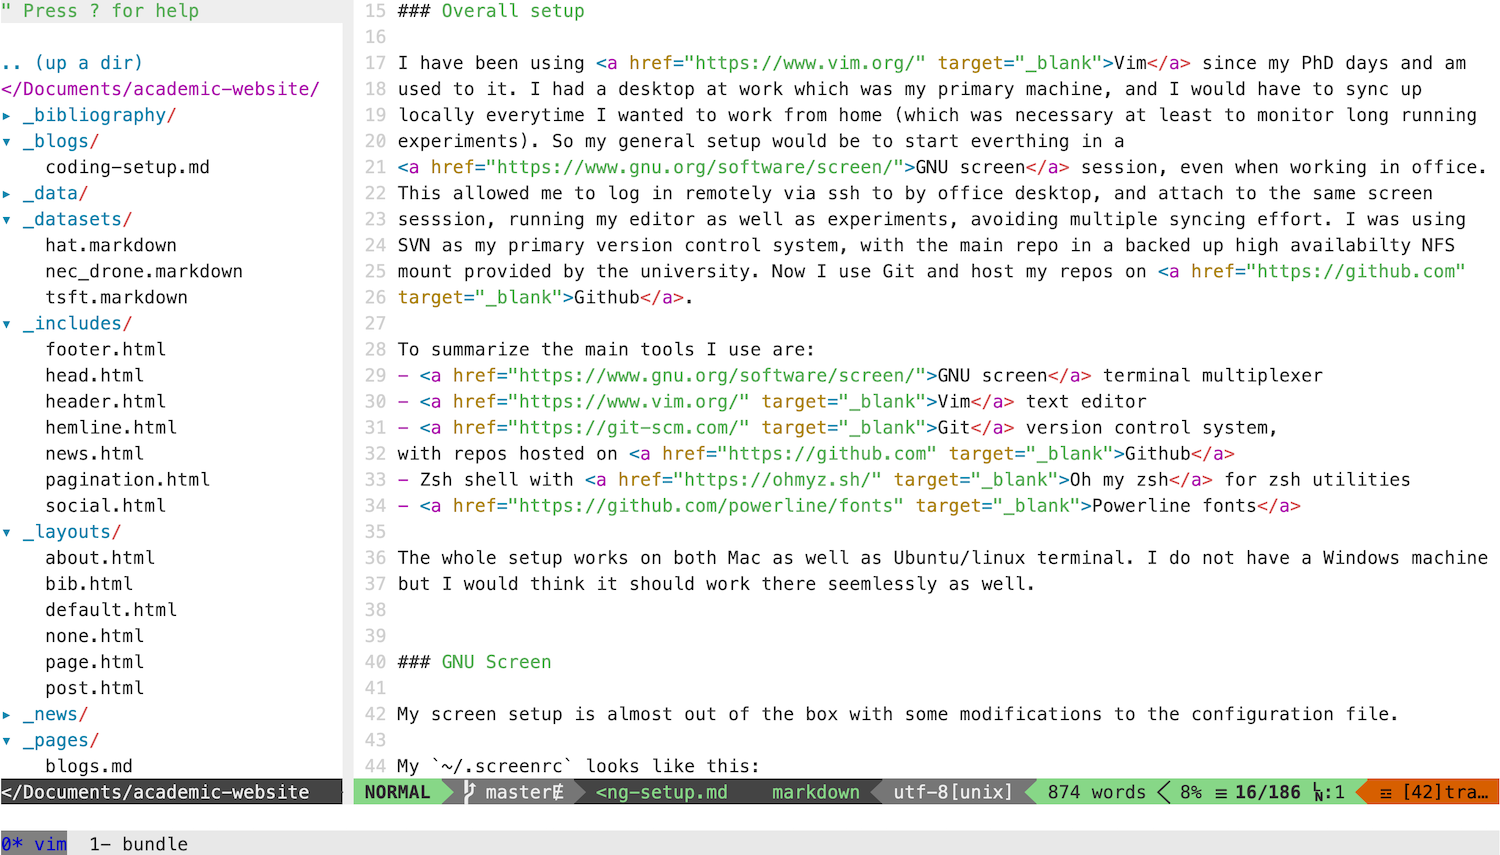
I have been using Vim since my PhD days and am used to it. I had a desktop at work which was my primary machine, and I would have to sync up locally everytime I wanted to work from home (which was necessary at least to monitor long running experiments). So my general setup would be to start everthing in a GNU screen session, even when working in office. This allowed me to log in remotely via ssh to by office desktop, and attach to the same screen sesssion, running my editor as well as experiments, avoiding multiple syncing effort. I was using SVN as my primary version control system, with the main repo in a backed up high availabilty NFS mount provided by the university. Now I use Git and host my repos on Github.
To summarize the main tools I use are:
- GNU screen terminal multiplexer
- Vim text editor
- Git version control system, with repos hosted on Github
- Zsh shell with Oh my zsh for zsh utilities
- Powerline fonts
The whole setup works on both Mac as well as Ubuntu/linux terminal. I do not have a Windows machine but I would think it should work there seemlessly as well.
In addition to this, I use a light grey background color for my terminal app, and also tweak slightly the ANSI colors for the terminal (Terminal>Preferences in MacOS terminal). I find that this is easier on my eyes. The exact font I am using is the Powerline Meslo LG M Regular with 1 char and line spacings.
This is what my shell looked like before a few more changes to this page.
GNU Screen
My screen setup is almost out of the box with some modifications to the configuration file.
My ~/.screenrc looks like this:
defscrollback 5000
startup_message off
caption always "%{kW}%?%-Lw%?%{bw}%n*%f %t%?(%u)%?%{kW}%?%+Lw%? %= %{= Wk}%110`%109`%111`"
hardstatus ignore
layout save default
term "screen-256color"
Vim
Using a command line editor like Vim or Emacs has a learning curve, but utlimately the rewards far outweigh the effort. Whenever I can not use vim, e.g. when working on someone else’s computer, I feel quite limited (perhpas due to my lack of full understanding of the editor they are using). I strongly recommend investing time and effort in learning one such editor.
You can do everything with keyboard only in Vim, and not having to touch the mouse/trackpad speeds things up quite a bit for me. Along with the many many plugins available, Vim based code editing gets me far enough for my needs. I am yet to outgrow it, if it is even possible.
I use a few plugins in vim to make my life easier. I install them using Vundle which is quite straightforward.
The most important plugins for me are:
- NERDCommenter
- NERDTree, and
- YouCompleteMe
In addition I have some corlor schemes etc. installed. I also set up some keyboard shortcuts (mappings in vim) so that I can do common tasks quickly (common tasks being coding and writing docs in latex). Some of them are:
- CC for toggling comments
- Cmd+p for running pdflatex on the file in first buffer
- Cmd+b for running bibtex similarly
- Cmd+o for opening the pdf file with the same basename as the first buffer
- Cmd+t for toggling NERDTree
My ~/.vimrc looks like this:
set nocompatible              " be iMproved, required
filetype off                  " required

" set the runtime path to include Vundle and initialize
set rtp+=~/.vim/bundle/Vundle.vim
call vundle#begin()
" alternatively, pass a path where Vundle should install plugins
"call vundle#begin('~/some/path/here')

" let Vundle manage Vundle, required
Plugin 'VundleVim/Vundle.vim'
Plugin 'othree/html5.vim'
Plugin 'maxmellon/vim-jsx-pretty'
Plugin 'preservim/nerdtree'
Plugin 'Valloric/YouCompleteMe'
Plugin 'preservim/nerdcommenter'
Plugin 'preservim/tagbar'
Plugin 'vim-airline/vim-airline'
Plugin 'vim-airline/vim-airline-themes'
Plugin 'vim-python/python-syntax'
Plugin 'tpope/vim-fugitive'
Plugin 'cormacrelf/vim-colors-github'
Plugin 'sainnhe/everforest'
Plugin 'sonph/onehalf', {'rtp': 'vim/'}
Plugin 'NLKNguyen/papercolor-theme'
" All of your Plugins must be added before the following line
call vundle#end()            " required
filetype plugin indent on    " required

" To ignore plugin indent changes, instead use:
"filetype plugin on
"
" Brief help
" :PluginList       - lists configured plugins
" :PluginInstall    - installs plugins; append `!` to update or just :PluginUpdate
" :PluginSearch foo - searches for foo; append `!` to refresh local cache
" :PluginClean      - confirms removal of unused plugins; append `!` to auto-approve removal
"
" see :h vundle for more details or wiki for FAQ
" Put your non-Plugin stuff after this line

let g:python_highlight_all=1
let g:airline_powerline_fonts = 1

set expandtab
set tabstop=4
set shiftwidth=4
set autoindent
set incsearch
set foldmethod=syntax
set foldnestmax=10
set nofoldenable
set foldlevel=1
set hidden
set background=light
colorscheme onehalflight
let g:airline_theme='onehalfdark'
filetype plugin on
set timeoutlen=1000 ttimeoutlen=0
syntax on

map <C-p> :!pdflatex #1 <CR>
map <C-b> :!bibtex #1< <CR>
set textwidth=100
map <C-o> :!open #1<.pdf <CR>
map <C-T> :NERDTreeToggle <CR>
map cc <plug>NERDCommenterToggle
map <C-g> :TagbarToggle<CR>
set textwidth=100
set number

let NERDTreeIgnore=['__pycache__']

let g:indentLine_char = '│'
"let g:indentLine_color_term = 150
let g:indentLine_setConceal = 2
let g:indentLine_concealcursor = ""

let g:ycm_add_preview_to_completeopt=0
let g:ycm_autoclose_preview_window_after_completion=1

set fillchars+=vert:│
highlight VertSplit cterm=NONE
highlight Comment cterm=NONE

let g:vim_jsx_pretty_colorful_config=1
Zsh settings
Oh-my-zsh already provides excellent aliases and utilites. The only thing I change here is have a
custom prompt, which I set in my ~/.zshrc, this is a slightly modified version of jtriley theme
that comes with oh-my-zsh.
The following is appended to my ~/.zshrc after oh-my-zsh has been installed.
PROMPT="%{$fg_bold[cyan]%}%T%{$fg_bold[green]%} %{$fg_bold[white]%}%n%{$fg[magenta]%}@%{$fg_bold[white]%}%m %{$fg_bold[green]%}%d %{$fg_bold[red]%}\$(git_prompt_info)
%{$fg_bold[yellow]%}%% %{$reset_color%}"

# git settings
ZSH_THEME_GIT_PROMPT_CLEAN=""
ZSH_THEME_GIT_PROMPT_DIRTY=" *"
ZSH_THEME_GIT_PROMPT_PREFIX="[\uE0A0 "
ZSH_THEME_GIT_PROMPT_SUFFIX="]"